
Starting with Alteryx version 11.3 the In-DB tools now support a number of new connections, including Exasol. This greatly improves the speed when using Exasol and Alteryx in combination. Rather than bringing all the data from the database into Alteryx, the In-DB tools create a SQL query that is sent to and executed directly in Exasol. As long as you are using the In-DB tools all processes you are performing will be computed directly in Exasol. I can bring in over 800m rows in under a second and use the In-DB tools to manipulate these data at the speeds I am used to from Exasol.
Setting up a new connection:
- Drag in the “Connect In-DB” tool
- In the configuration pane select “Manage Connections…”
- A new window will pop up
- In the “Data Source” drop down you can now select “EXASOL” as your data source
- Under “Connections” press the “New” button
- Use the “Connection Name” space to give your connection a unique name to recognise it later
- Select the downward arrow next to the “Connection String” field, this will bring up a list of ODBC connections created previously if you have any. If the ODBC connection is already set up you can select it here, else press “New database connection”
- In the new window that pops up, select “ODBC Admin” on the bottom left of the window
- The ODBC Data Source Administrator is brought up
- Select “Add”
- A new window appears. Select “EXASolution Driver” from the list and press “Finish” on the bottom right of the window
- In the connection configuration that now appears just enter the connection string. Entering your “User name” and “Password” is optional at this point. If you don’t enter them now you will be prompted for them every time you want to use this connection
- You can press the “Test connection” button to check that you have entered the connection string correctly
- Then confirm the information by selecting “OK” in the top right of the window
- Close the remaining windows by pressing the “OK” button in each instance
- The query builder will be brought up automatically at this point. Use this to select the data that you want to use
- Running the workflow will now connect Alteryx to the data you have selected from your Exasol database
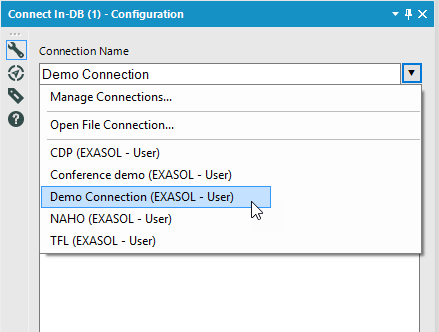
The next time you want to use this connection you don’t need to go through all these steps. Your connection profiles are saved and you can access them through the drop-down menu in the “Connect In-DB” tool.